FFI MODULE 5: FROMAGERIE
I know I keep saying this, but this course continues to teach me so many lessons that go far beyond food, itself – and FFI Module 5: Fromagerie is no exception; with the main ingredient for this particular module being patience.
When I talk to people who want to go vegan, they often say that they’d have the hardest time giving up cheese, of all the animal-based food products. And I feel that, I’m a big cheese gal, myself! But guess what – you don’t have to give up cheese to go vegan.
So: how do you make plant-based cheese, exactly?
Cheese-making, to begin with, is an intricate process by which various elements need to take place in order to get that creamy fromage that we all know and love. And believe it or not, making vegan cheese doesn’t differ much from the dairy-based cheese-making process, with the exception of the preparation. Here are the highlights of how we learned to make plant-based cheese in FFI Module 5: Fromagerie:
- Soaking: The nuts used to make vegan cheese, typically cashew or macadamia, need to soak thoroughly (up to 24 hours) to remove phytic acid and enzyme inhibitors, which essentially helps to facilitate easier digestion. It’s also important to use raw, unprocessed, and unsalted nuts.
- Acidulation or “ripening:” This is the step in which healthy bacteria – in this case probiotics – are added to the cheese base (the result of soaking and blending the nuts). When making fresh cheeses such as the mozzarella I made below, this is the step where you’ll see cheese curds forming.
- Fermentation: This is the third component of the cheese-making process, after acidulation. With aged cheese, the base has to dehydrate for a second time (about 24 hours) to get a firmer, funkier flavor with a distinct tanginess. With fresh cheese, a shorter fermentation round is required since they don’t develop a rind or have as much tartness.
- Aging: After seasoning and shaping the cheese, it needs to be frozen, dehydrated, and chilled in the refrigerator for at least 3 days. Some people will age cheeses for weeks and even months to get an even stronger flavor and thicker rind.
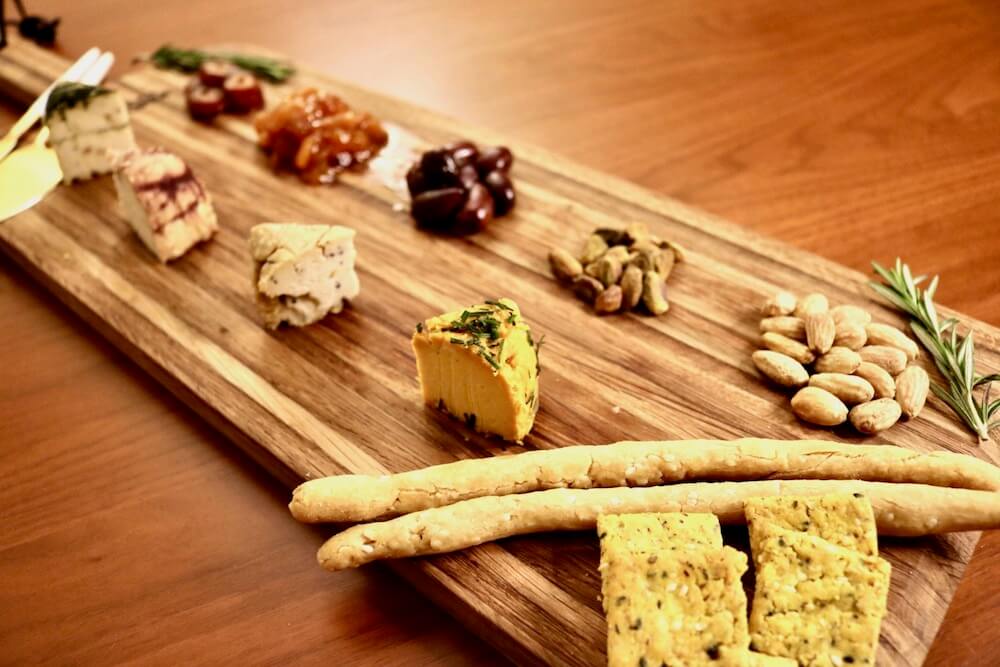
Keep scrolling to check out some of the incredible cheeses I learned to make, culminating in my first FFI practical exam – an artisanal fromagerie board.
LESSON 1: CHEESE BASES + CULTURED CREAM
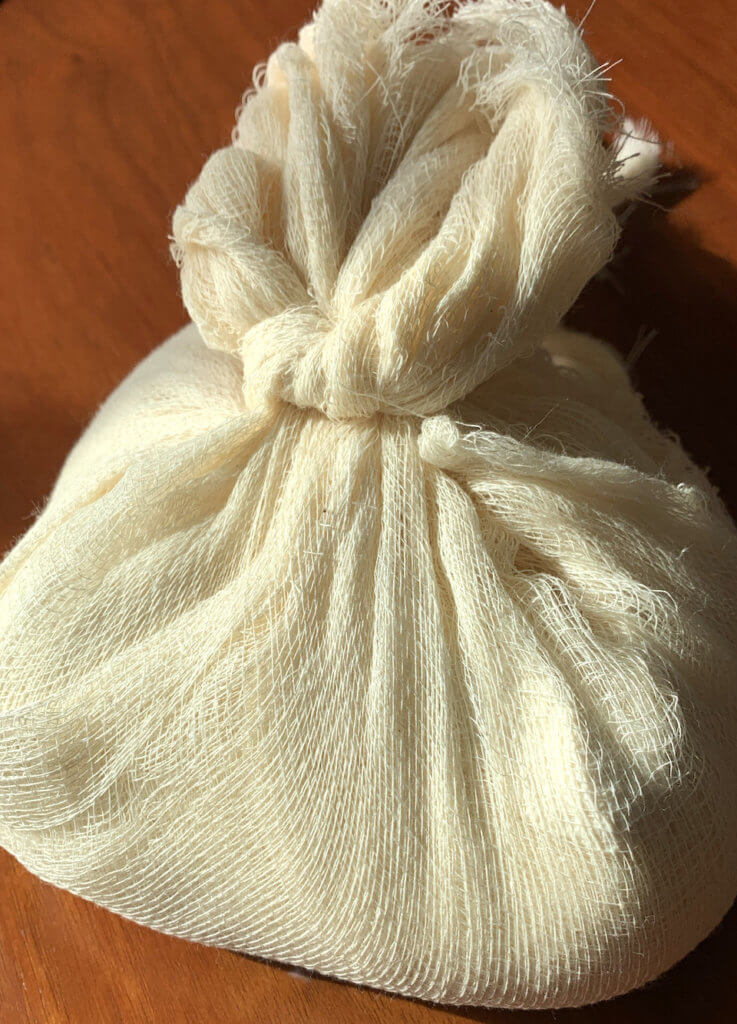
I made bases for 5 cheeses in this section: 4 artisanal aged cheeses, a chèvre (similar to goat cheese), and mozzarella. This was an extensive process that included soaking cashews for 24 hours and macadamias for 8 hours. Once the soaking period was over, I drained and blended the nuts for the various bases, added the probiotics, then dehydrated the bases for about 24 hours. All of the bases included cashews, with the chèvre using a blend of cashews and macadamias.
LESSON 2: ARTISINAL CHEESES
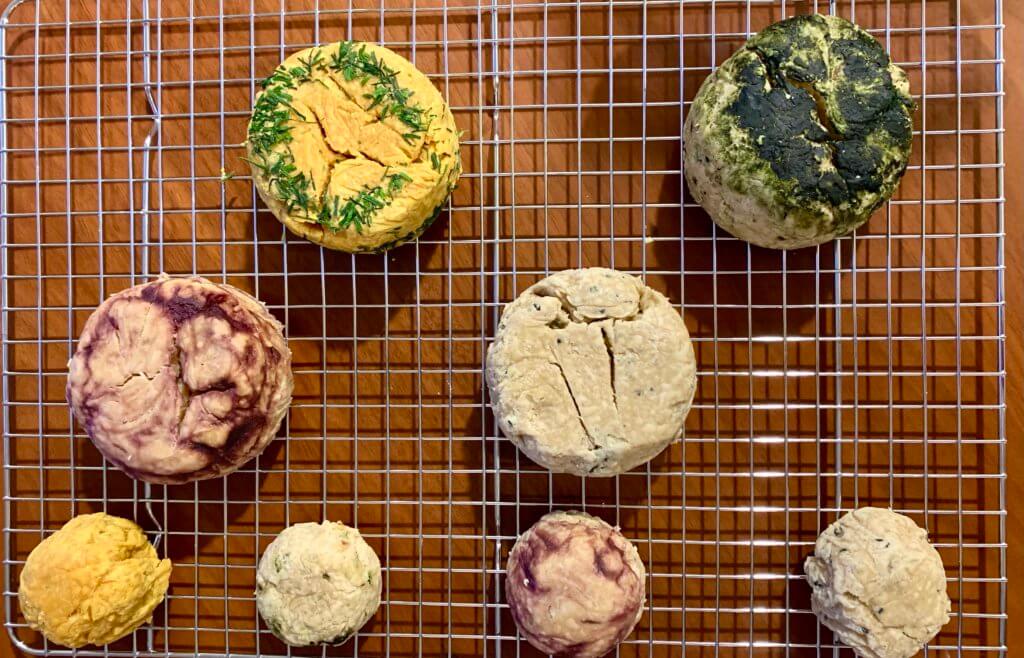
After the bases were fermented, it was time to season the four artisanal cheeses – which was actually a lot of fun. FFI had us play around with 4 flavors: chive cheddar, truffle, red wine reduction, and bleu. This also presented me with the first opportunity to use my shiny new Kitchen Aid Stand Mixer, which I am so in love with (I opted for the Matte Milkshake color, after much deliberation). After seasoning the cheeses, they were put into molds, frozen, then dehydrated for another 8 hours (my dehydrator is small and didn’t fit the molds, so I put them in the oven at the lowest temperature with the door partially open, and that did the trick) – you know the cheese is ready when it starts to develop a rind. Then, I transferred them to the fridge and allowed them to age for 3 days, flipping them over once per day to increase air flow.
LESSON 3: OLIVE CHEVRE
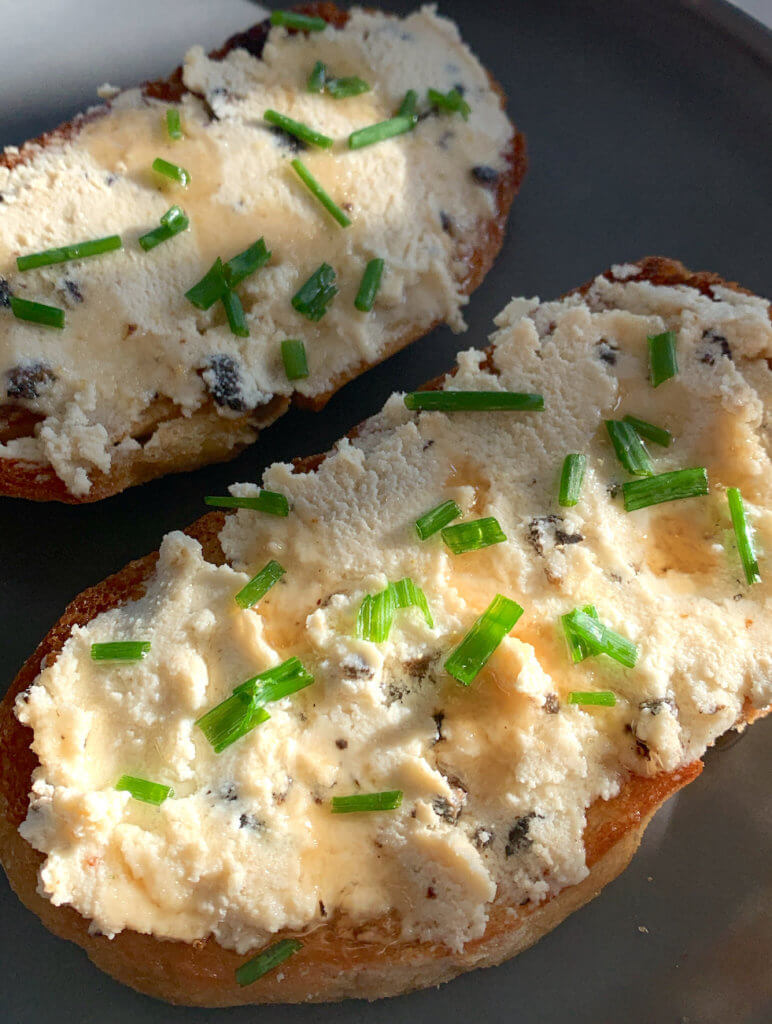
This olive chèvre was particularly exciting for me, as it was the first of my cheeses that I was able to sample! Because chèvre is a “fresh” cheese, I was able to eat it as soon as it was chilled. It had a wonderfully creamy consistency, just like you’d expect from a goat cheese — it’s just slightly more tart than its dairy-full counterparts, but the olives offered a nice briny texture to offset the tanginess. I really enjoyed making little crostinis like the one pictured above, with white truffle oil, sea salt, chives, and a drizzle of agave for some sweetness.
LESSON 4: CRACKERS + CONDIMENTS
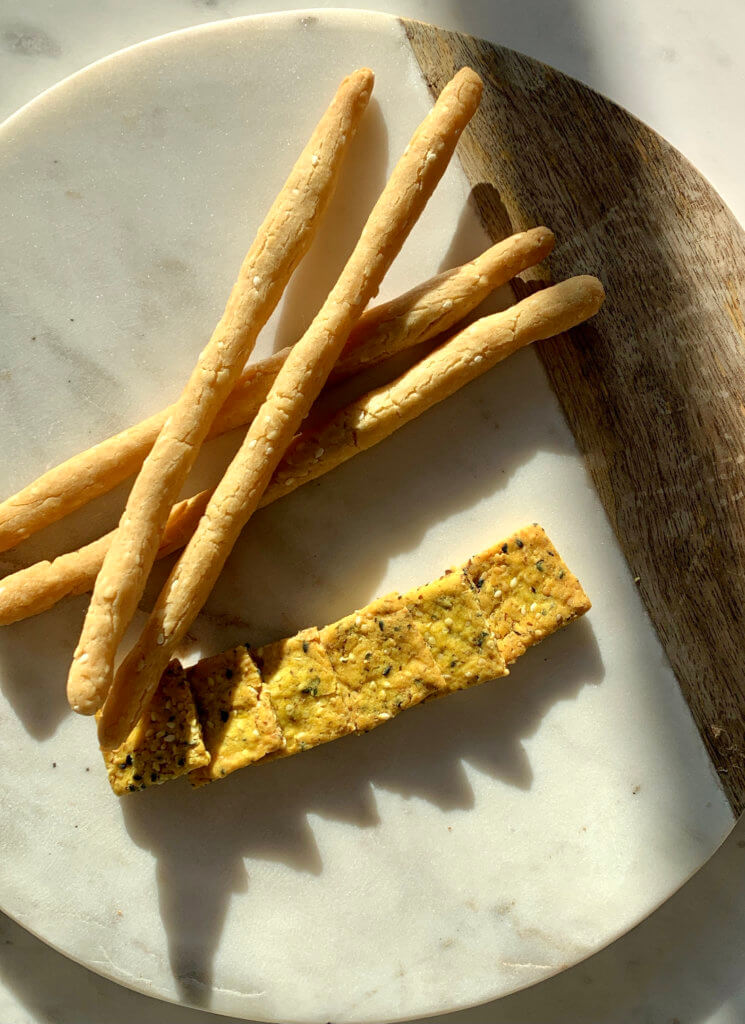
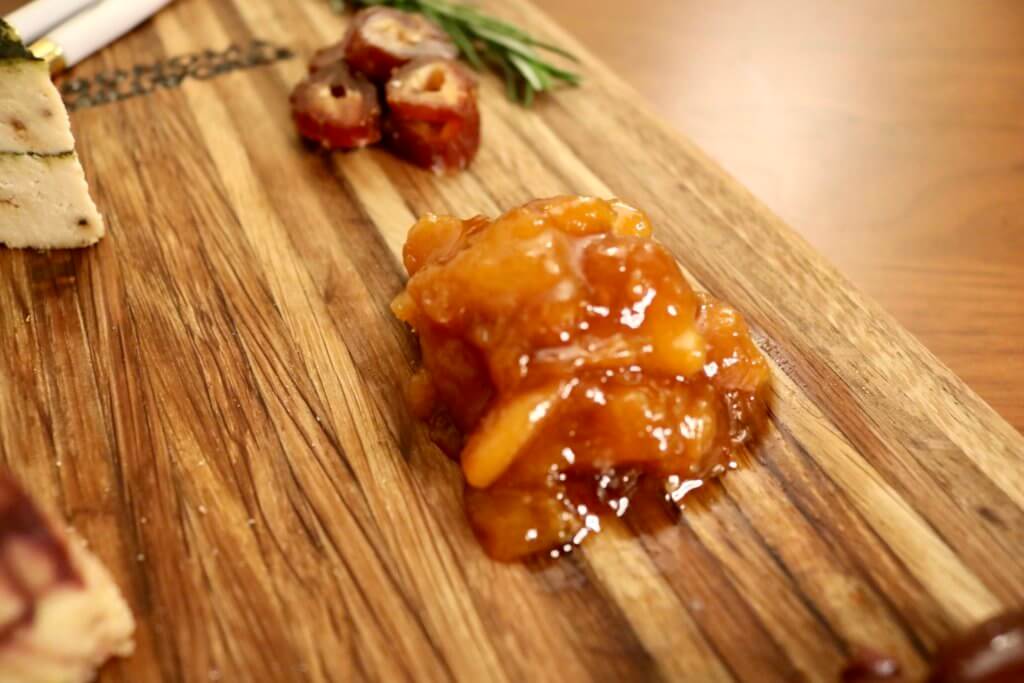
While the artisanal cheeses aged in the fridge, I got to work on my crackers and condiments. I made a gluten-free seed cracker and a gluten-free grissini, as well as an apricot jam. The latter was by far my favorite – the crackers turned out so-so; but that jam has been on heavy rotation in my house and is fabulous when paired with my aged cheeses, on toast, with vanilla ice cream…you get the idea.
LESSON 5: MOZZARELLA CAPRESE
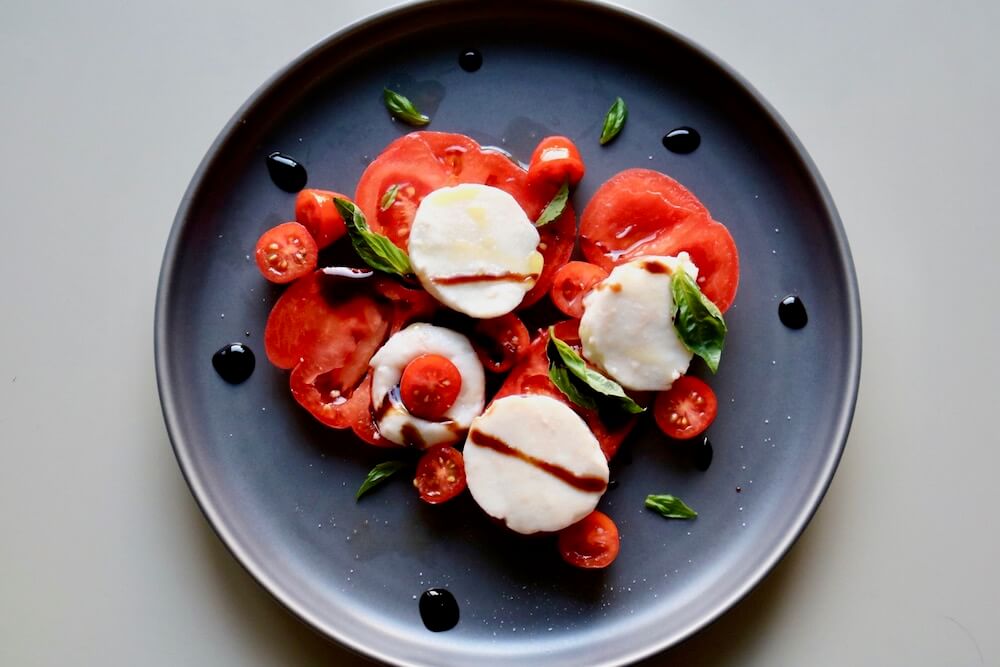
To be perfectly honest, I was expecting this mozzarella to be a disaster. I had less coconut oil on hand than what the recipe called for, but I made a game-time decision to supplement with Miyoko‘s butter – and thankfully, the result was divine and EXACTLY what you look for in this kind of cheese: creamy, smooth, bouncy mozzarella, and the resulting caprese was so divine. I had a ton of fun plating, photographing, and eating this special dish.
LESSON 6: PRACTICAL EXAM – FINAL CHEESE BOARD
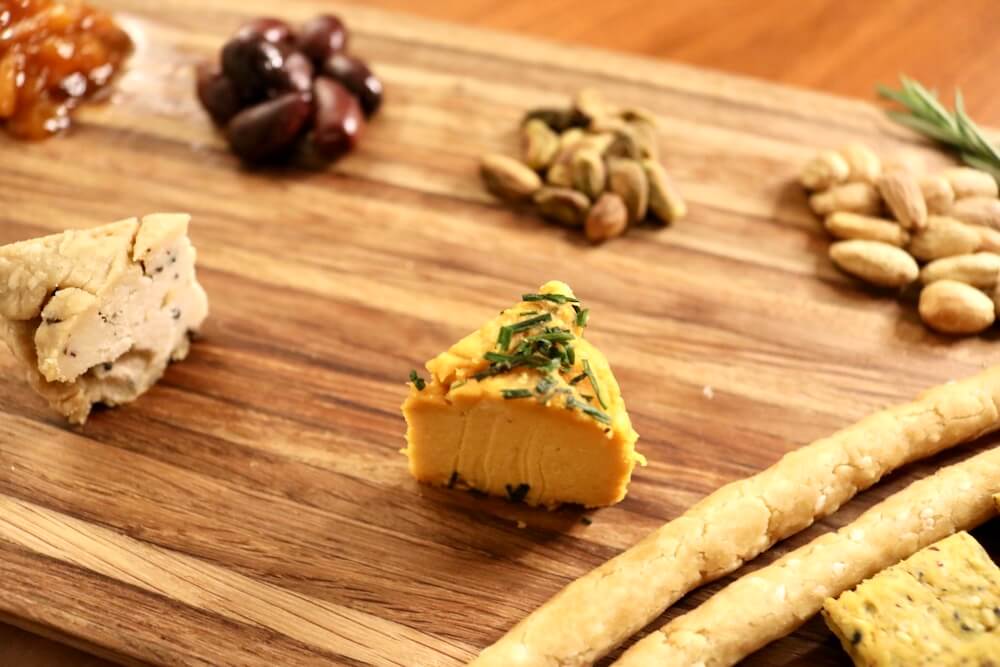
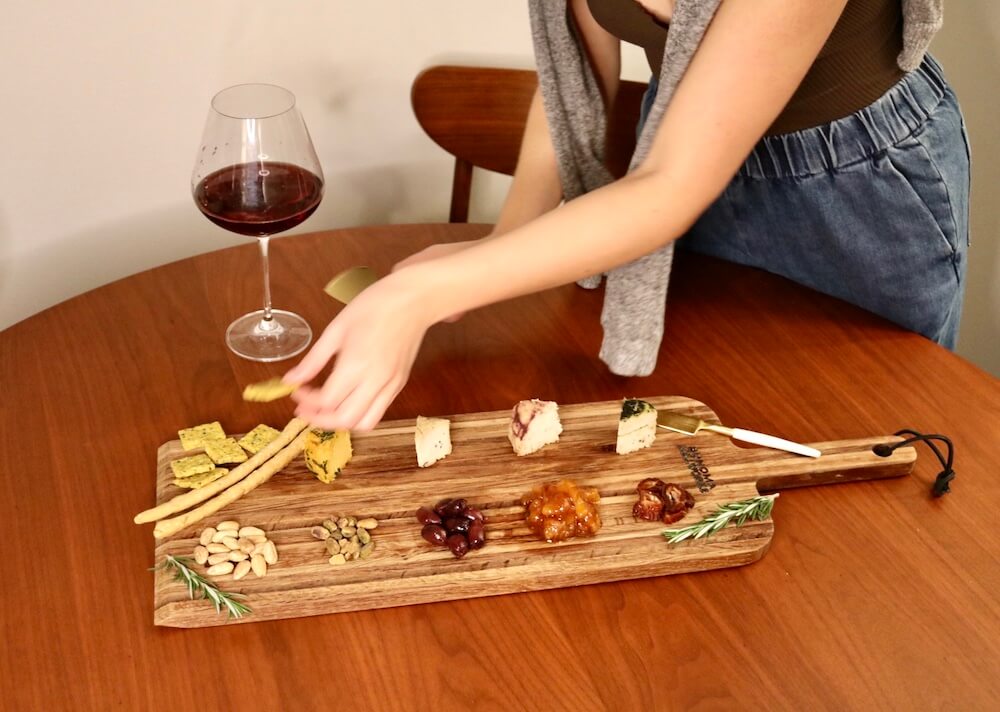
After a week defined by cheese-making, I was so ready to get to the final step of this FFI module wherein I’d be presenting the fruits of my labor to the FFI instructors in the form of an artisanal cheeseboard. I had a very particular vision for photographing my work: I envisioned a golden hour shoot with warm light draping over my cherished morsels, but, inevitably, life got in the way of my dream cheese photoshoot. By the time late afternoon rolled around, I was scrambling to get myself showered and put together so I could be semi-photo ready, and it was basically dark out by the time I had assembled the board (thanks, daylight savings)! Thankfully, Ryan jumped in with his ring light and grabbed my camera, snapping some really great photos despite the less than ideal lighting.
A friend joined us to taste-test cheeses, crackers, and condiments that evening, and it was so nice to kick back and enjoy the fruits of my labor with a really great bottle of wine. It was also really fun to see how everyone’s palate interpreted each cheese flavor as we took bites between sips of wine. My personal favorite was the chive cheddar, though the saltiness of the bleu cheese paired best with the apricot jam, in my opinion.
If you’ve made it this far, thank you for bearing with me through this less-than-perfect cheese-making journey that was FFI Module 5: Fromagerie. Though there were some speed bumps along the way, it was an incredibly enlightening and rewarding experience – and I’m grateful to FFI for the opportunity to expand my culinary skillset more than I ever could have imagined. I’m also incredibly thankful that my next FFI module is focused on salads and dressings – a very welcomed, lighter food group following the holidays and an exorbitant amount of cheese consumption that took place this month.
Thank you, as always, for following along. If you haven’t read my last FFI post on pantry staples, check it out to see my adventures in making ice creams, nut milks, cereals, and more delectable foods.



Hi Angelica,
I took the FFI course but I never saved the recipes and now I can’t log in to the FFI website. I would love it if you could share with me Module 5 fromagerie.
regards
Lucy
Hi Lucy – not sure if you saw my earlier response, but it appears that FFI took down the website entirely, so I don’t have the recipes, either. But as mentioned, there is a “Former Future Food Students” Facebook group you can look up – I believe they have the recipes!